A Tale of Two Photos
(or, How to Spot a Lazy Real Estate Photo)
It’s true that realtors have a choice as to who they hire to photograph their listings. And it’s important that each of us photographers be clear about what it is we offer and why, so that we can differentiate ourselves. It’s also important to educate and inform our clients about the field of photography so that they can make informed decisions about what they are paying for.
“There are many ways to skin a cat” as they say, but there are many more ways to take and edit a real estate photo. Not all methods are equal but a great photo can be made in a variety of ways. However, some real estate photographers take shortcuts on your listings that affect the quality of your photos.
All of the photos in this post are my own, so I am not criticizing any specific photographers work. I myself have replicated bad techniques with my own photos so that you can know what to look for.
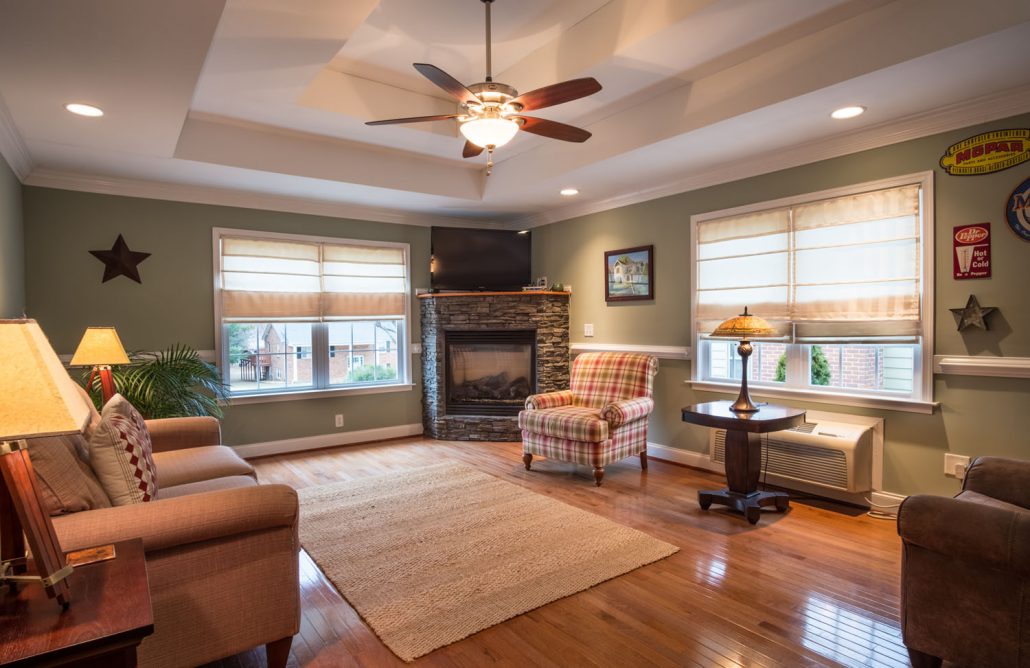
Darkening in poorly lit areas
Blue hue and discoloration out the window
Darkened window pane that bleeds over onto the walls.
Yellowy and orange colored lights
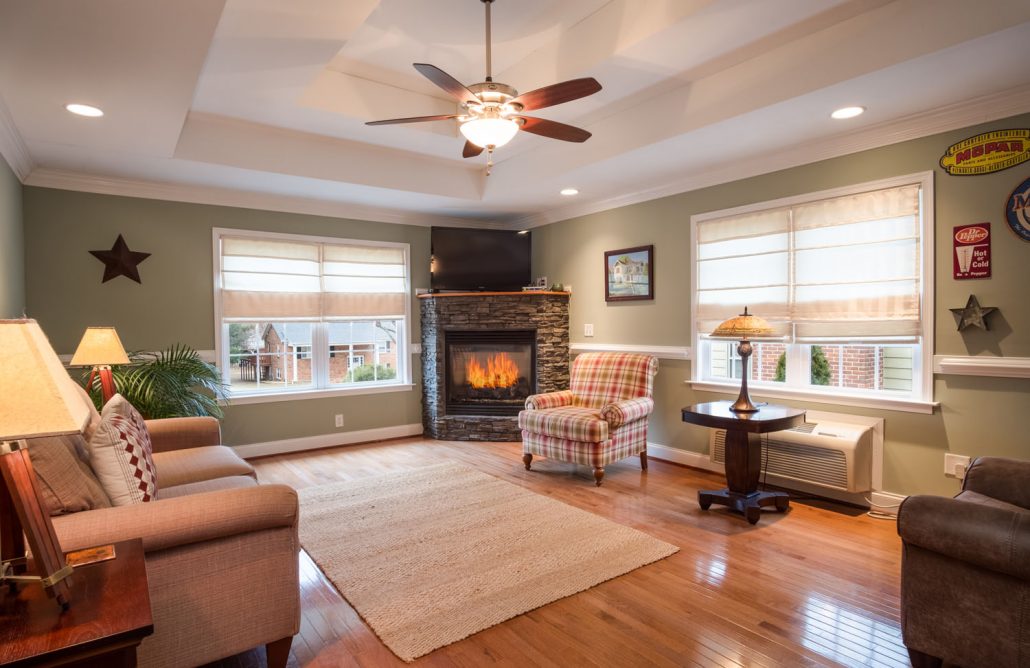
Even though the above two images are composited using the same source photos, they are very different. The left was made using an automatic program called HDR, and the right was made using my more labor intensive method that I use when you buy my premium package.
Notice how the colors are different on the left; the lights are all very orange and yellow and when you look out the window everything is discolored and blue. Also, notice how dark the window panes are and how the poorly lit areas, like under the armrest on the couch, are much darker.
Also, take note that the image on the right has a fire in the fireplace, digitally put into place.
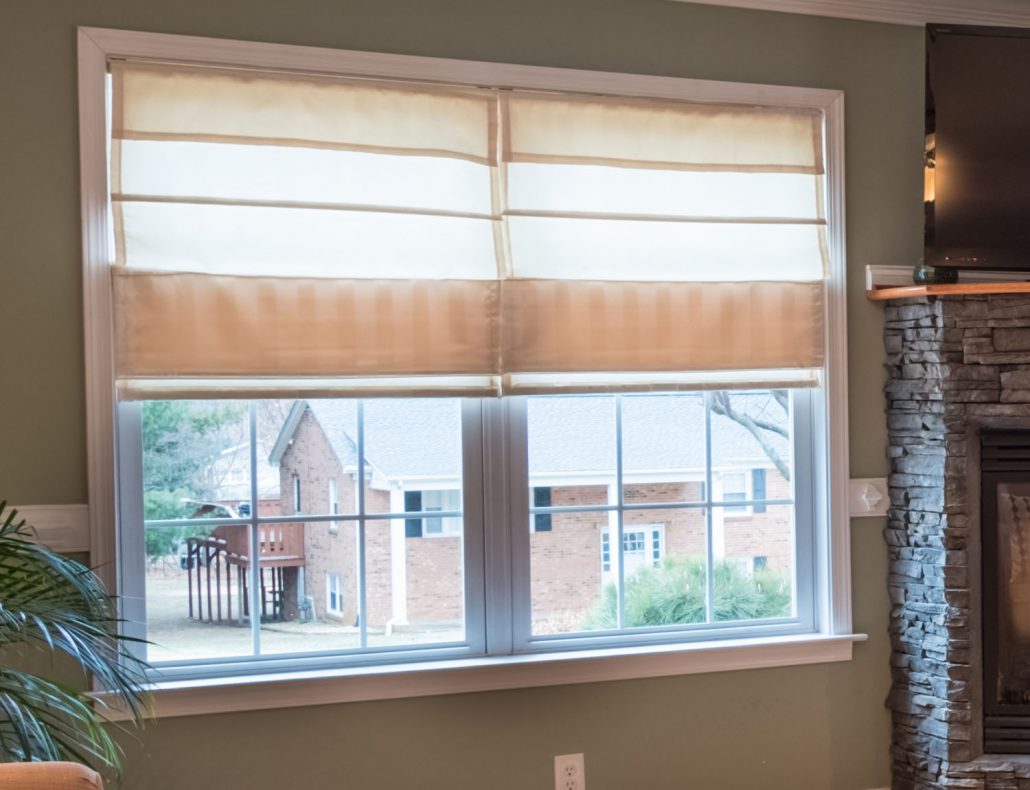
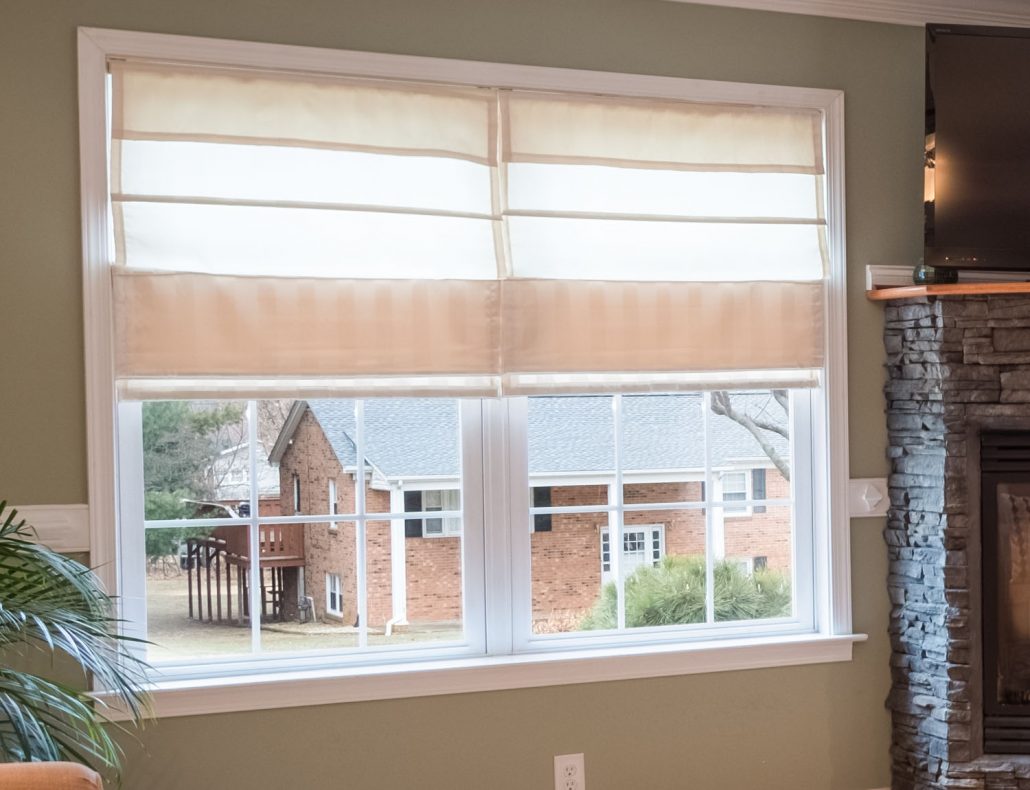
Here you can clearly see the differences in the windows.
On the left you can really take notice of the discoloration happening compared to the right. This happens because the outside and the inside of the house are very different exposures and white balances. The HDR program can’t properly correct for that. I can correct that when I blend each exposure manually like on the right.
Also, notice how the window sill is very dark on the left and the darkness spills over onto the walls. This is because I used a crude brush to darken the windows so that you can see outside better. The only problem is that I was very careless with how I used the brush. The method I used on the right targets only what is outside and leaves the window sill looking natural and bright.
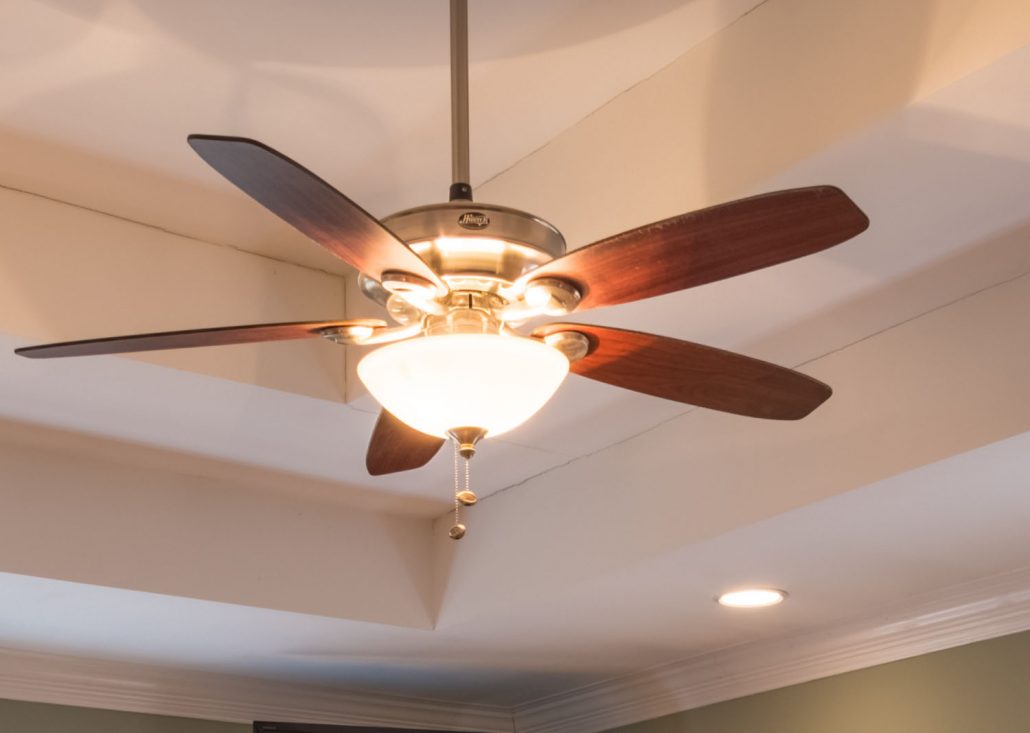
The difference here is more subtle. The left image was stitched using HDR and you can see that it is much more orange and yellowy than on the right. The right image is the natural color that it was when I took the photo. All lights look orange and yellow when using HDR and it also affects the colors on the walls and everything else in the room.
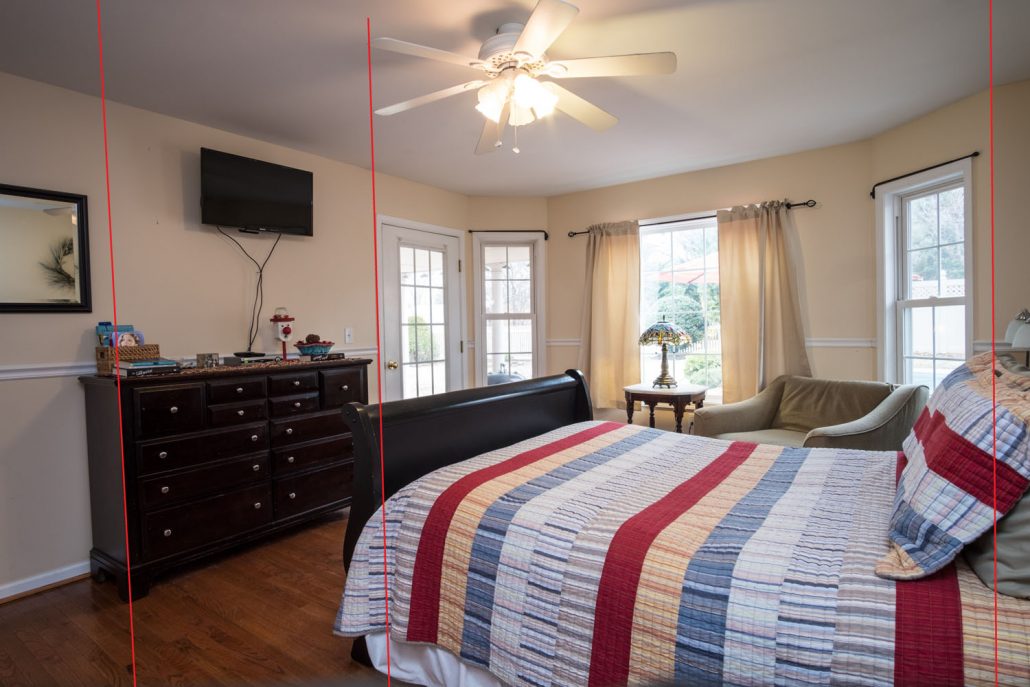
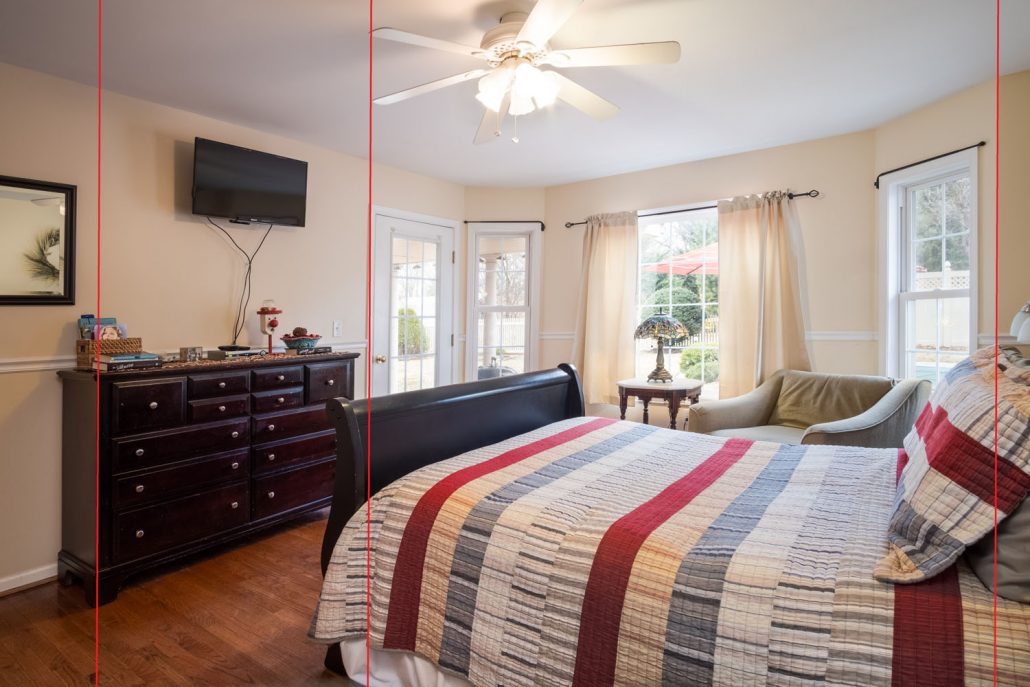
Correcting for perspective is a very important part of making professional looking real estate photos. A good photographer will always try and set their camera perfectly level so that all the vertical lines go straight up and down. But you can’t nail it perfectly every time and so you always need to go back through your photos and correct the verticals digitally.
You can see how in the left photo the vertical lines tilt to the left while on the right I corrected them and they go straight up and down.
Correcting for verticals is so important that I offer it with both my Premium Package and my Everyday Package.
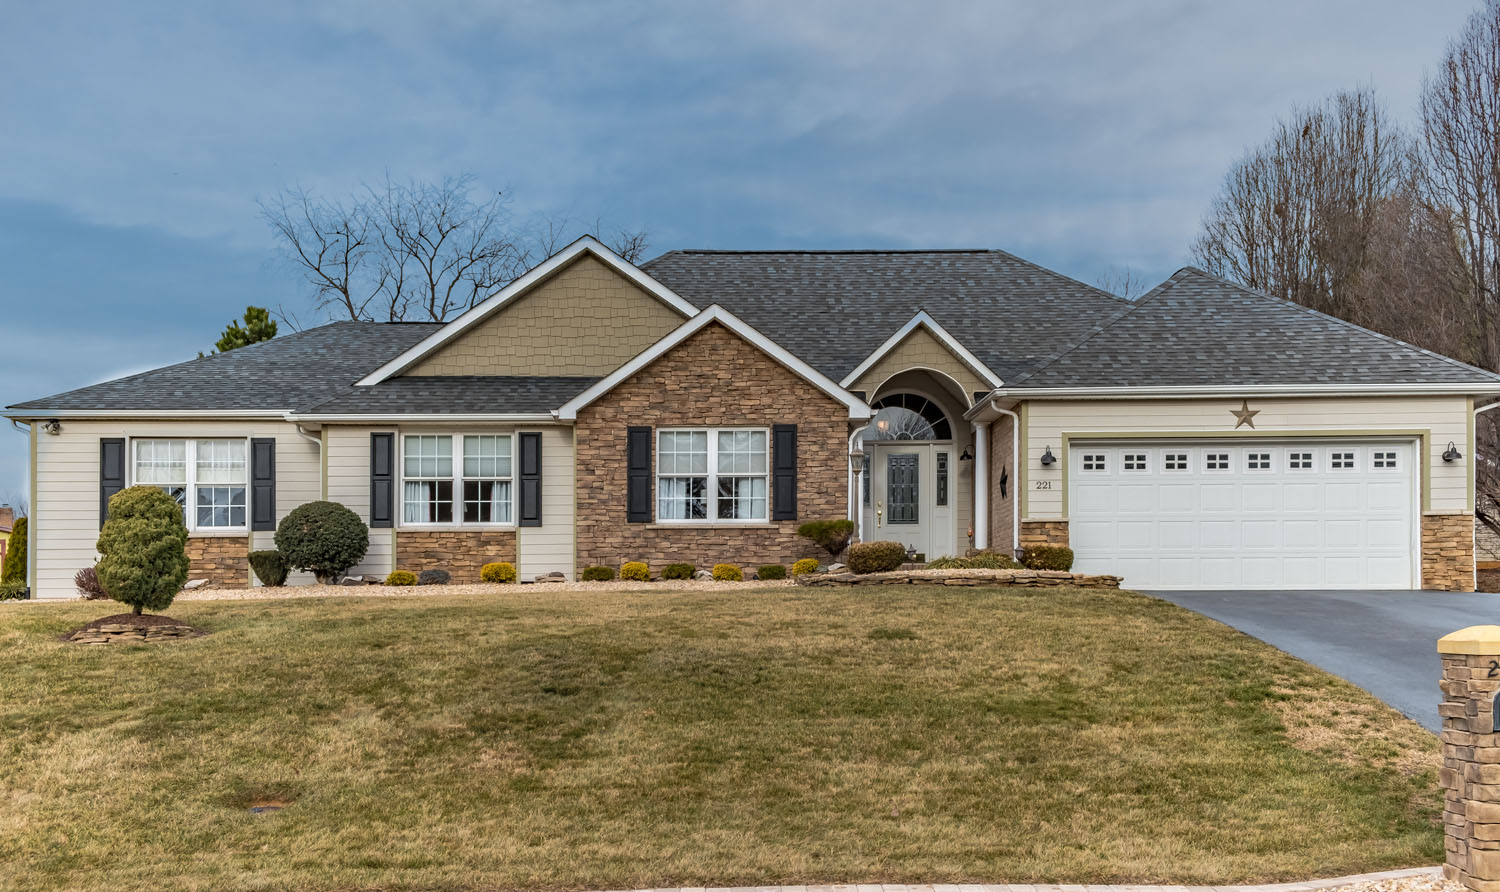
Bad looking tree branches
Blue sky spilling on to the house
Blue sky spilling on to the house
Some of the old sky left behind
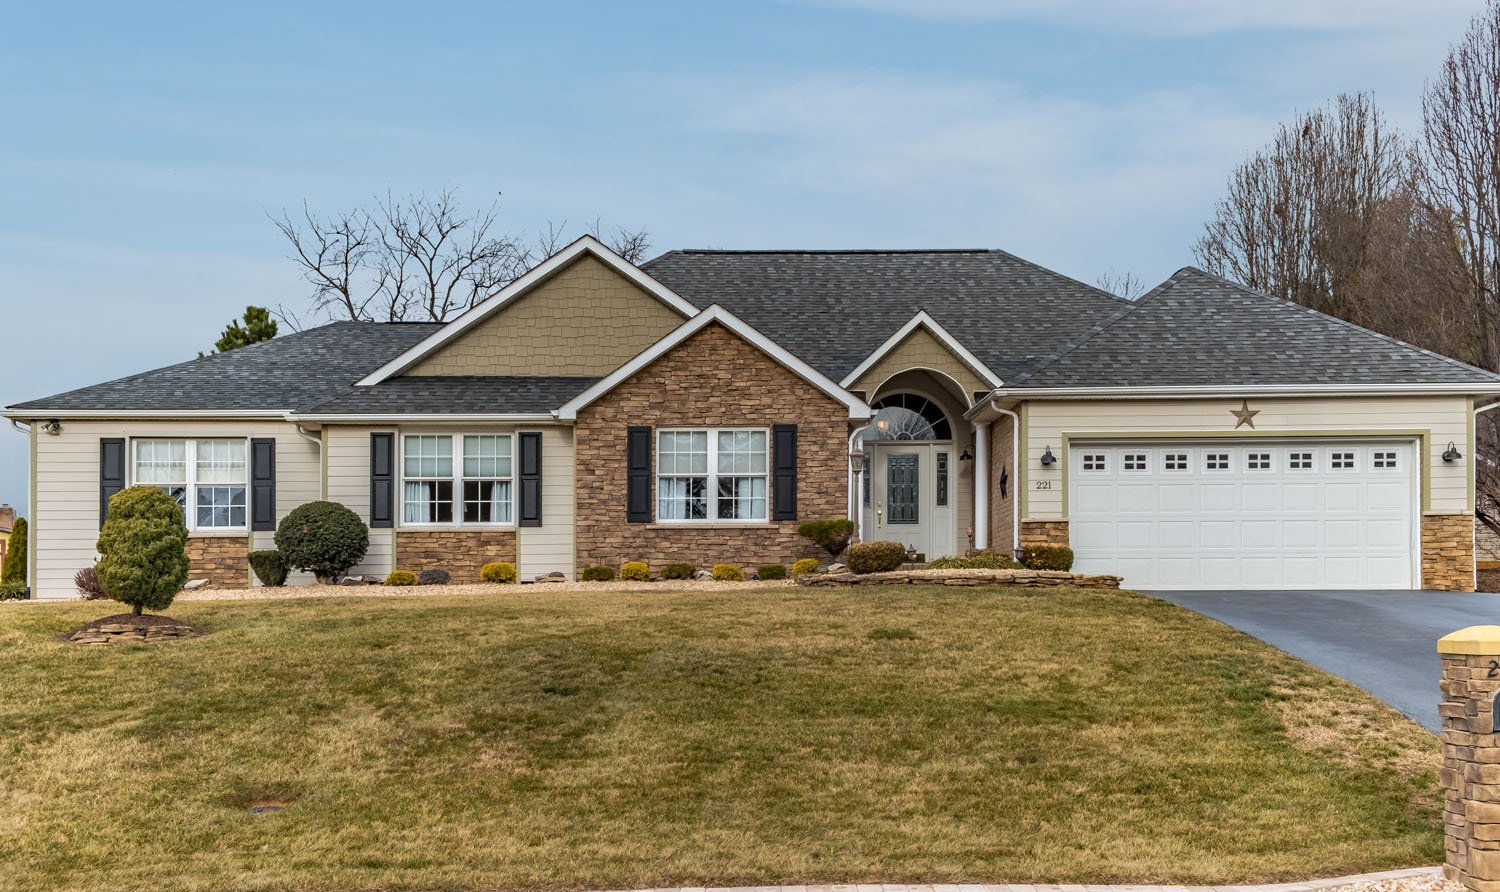
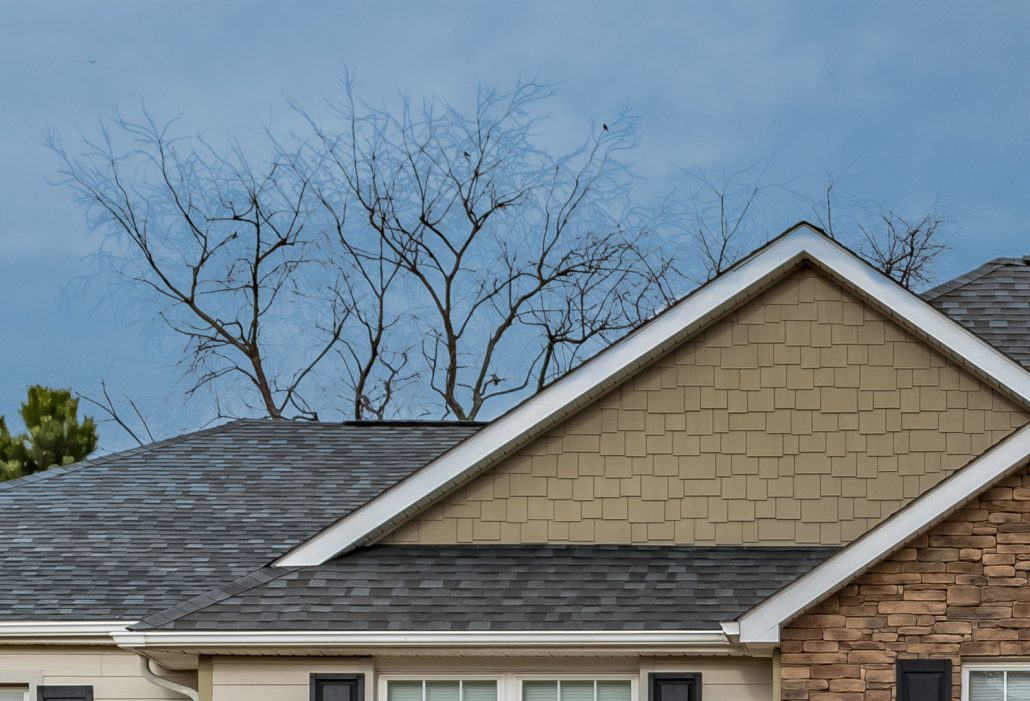
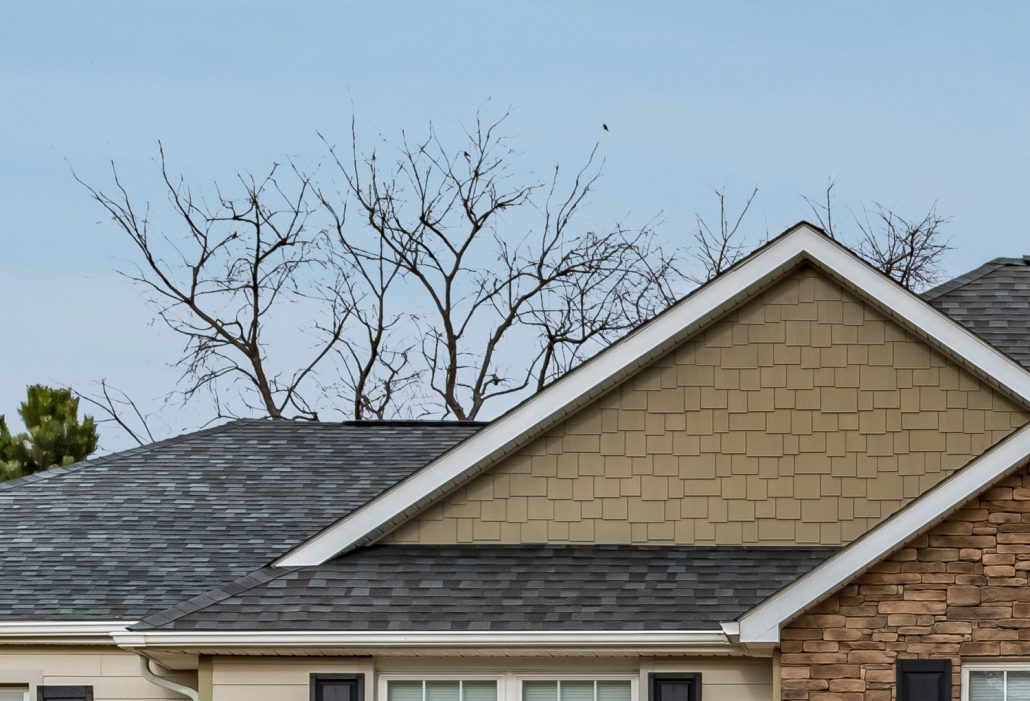
On overcast and dreary days I usually do a sky replacement. This is a delicate process and requires particular care when there are trees in the picture.
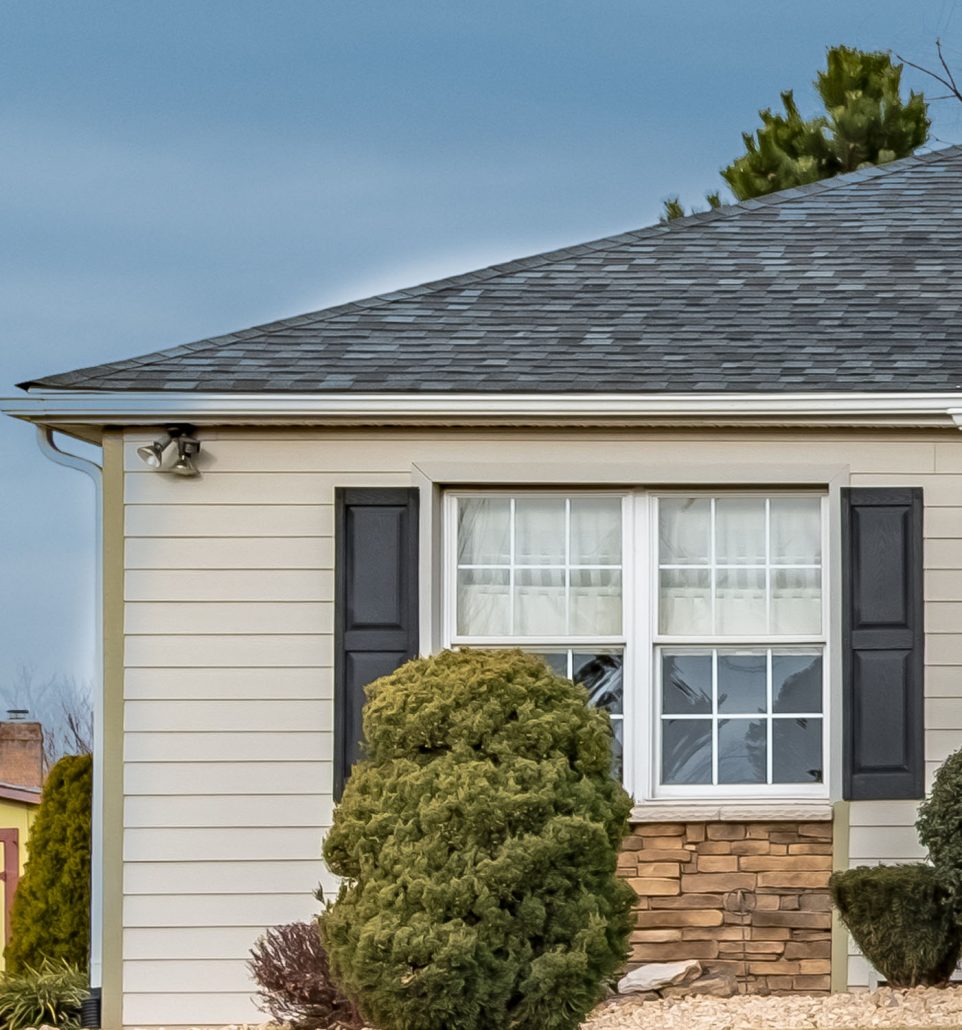
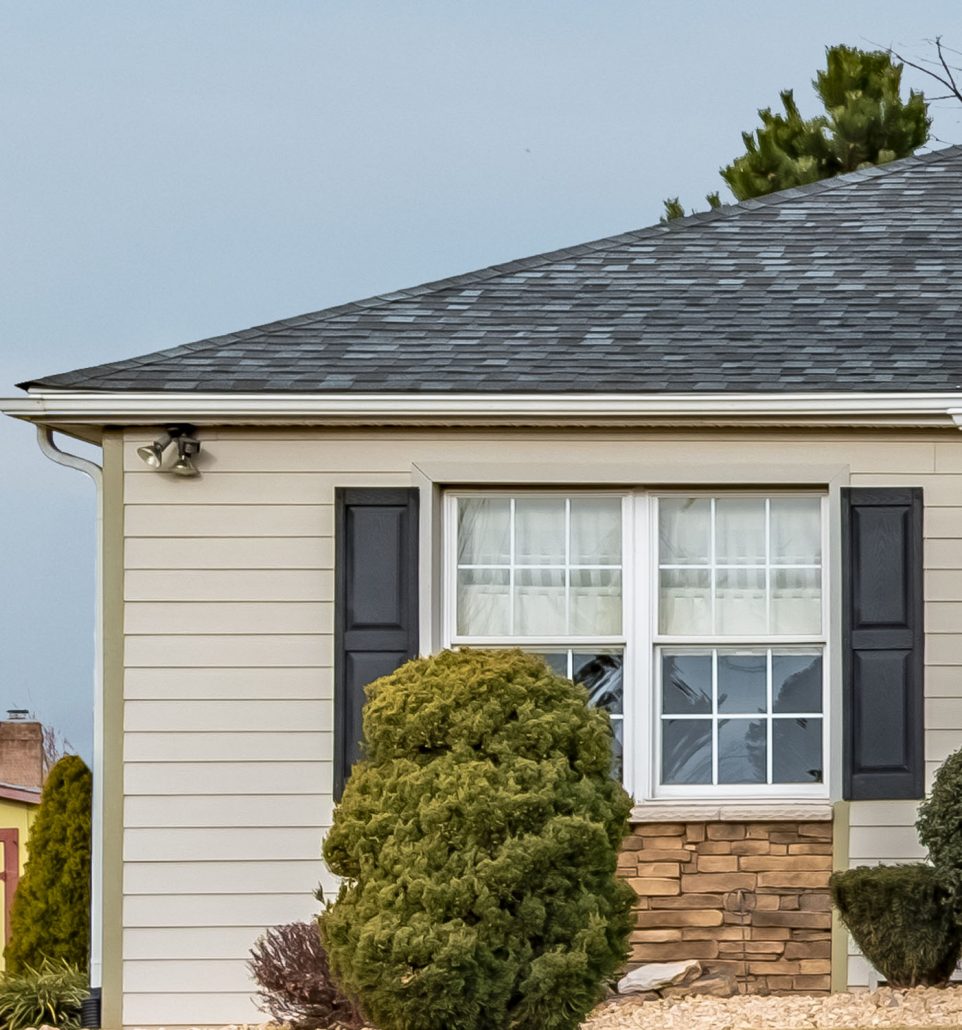
You can easily tell a bad sky replacement by looking at the branches of the trees. You can see on the image on the left how the branches look spider webby and the blue sky is bleeding through. Also because you have to brush the sky in you can see where a bad sky replacement has left some blue sky on the house in a few places and some of the old sky is left over near the roof line.
Here you can clearly see that there is a problem with the branches on the left. The branches don’t look natural at all with the sky bleeding through. It takes time and care to get a sky replacement to look like the image on the right.
Also, note how part of the ridgeline on the front gable is blue. This is because I carelessly brushed in the new sky without going back and correcting my mistakes.

